
How to use ISI whipped cream dispenser might seem straightforward, but honestly, I’ve seen so many people struggle with their first attempts.
You purchase a high-end dispenser believing it will be easy to use. You then end up with a watery mess or a cream dispenser that isn’t dispensing properly. Does this sound familiar?
I have been in the same boat before, and after figuring out my dispenser, I decided to share everything I learned through trial and error.
Why Your ISI whipped cream dispenser is not just another tool.
First things first – most canned whipped cream taste artificial.
When using your ISI whipped cream dispenser, you eliminate any chance of that artificial taste. You are using fresh cream, fresh flavors, and textures you cannot get anywhere else. Plus, you are putting in every ingredient you want and the exact amount you desire.
The trick we need to grasp is the fundamental reason our dispensers work as well as they do. The foam is not just pure cream and gas. Be careful, there is a technique to it.
How to Use ISI Whipped Cream Dispenser: Step-by-Step Guide
Here is exactly how I’ve used my ISI dispenser and always get consistent results:
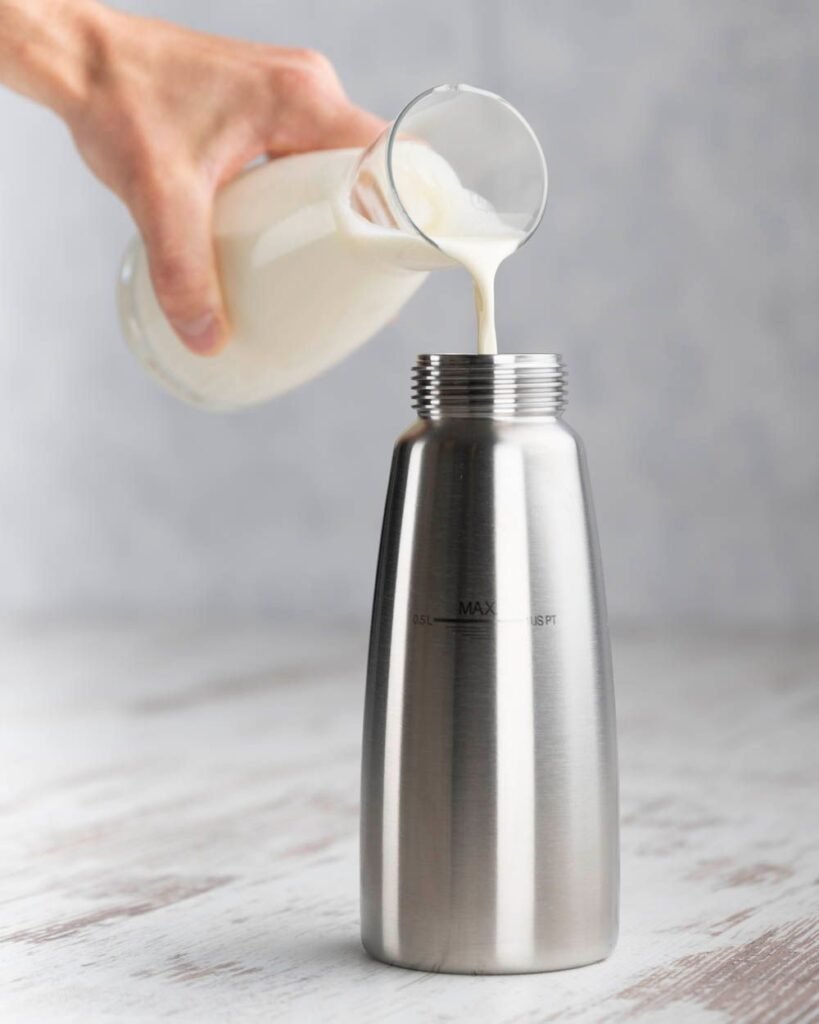
Step 1: Prepare your cream base.
Use cold heavy cream (at least 35% fat content). Cream that is even a little warm will not whip properly…trust me!
Here is what you’ll need:
- 250ml heavy cream (chilled)
- 1-2 Tbsp powdered sugar (optional)
- 1 tsp vanilla extract (optional)
Add all of the ingredients to your ISI dispenser using the funnel. Never fill above the maximum fill line on the side.
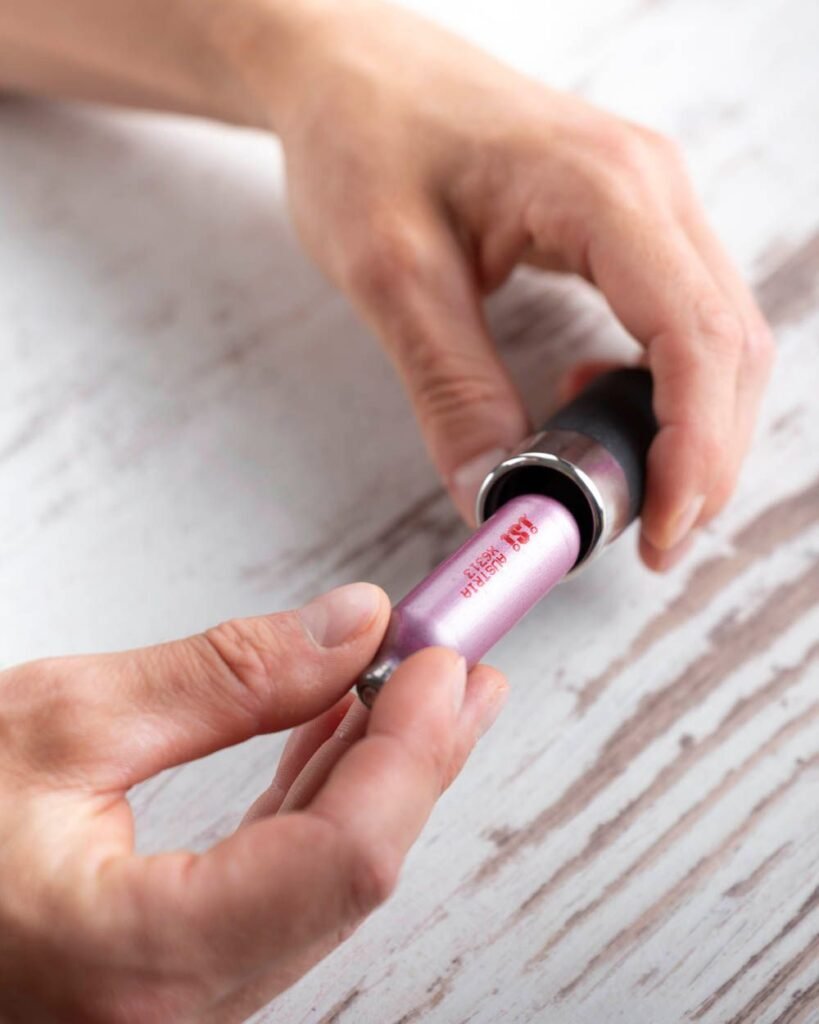
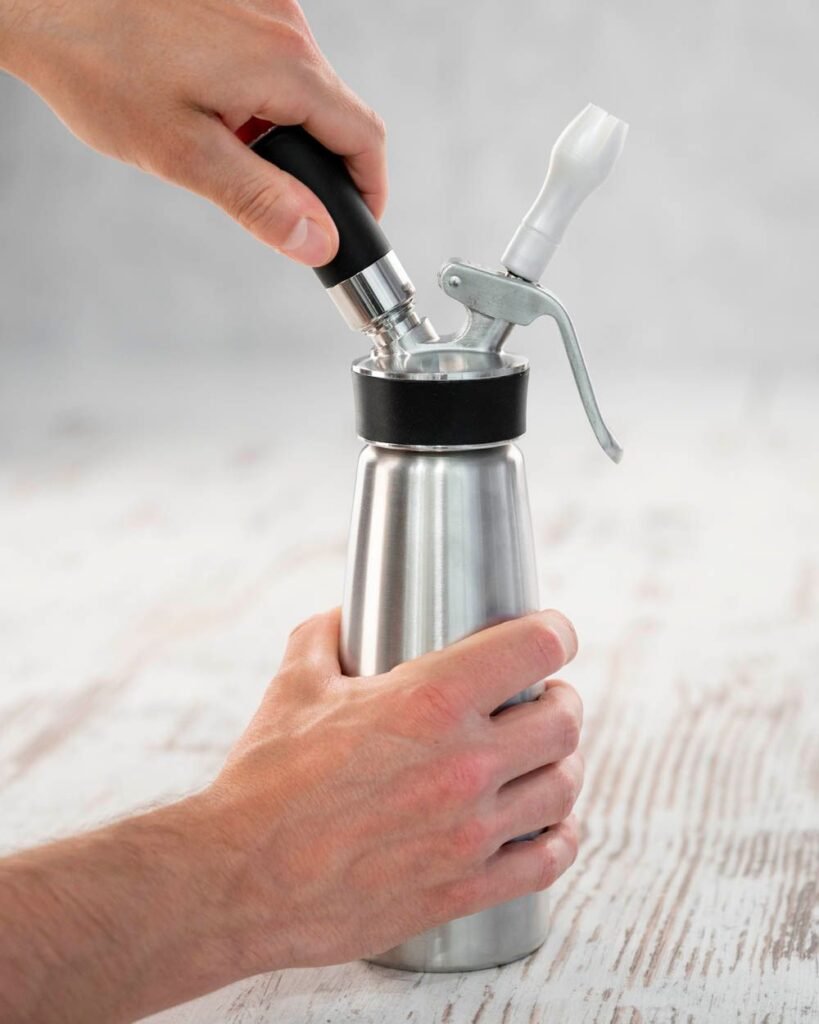
Step 2: Seal and Charge Your Dispenser
Screw on the head of the dispenser tightly, but not too tightly. Insert one full N2O cartridge into the cartridge holder. Screw it in, then listen for the gas release (hissing is normal).
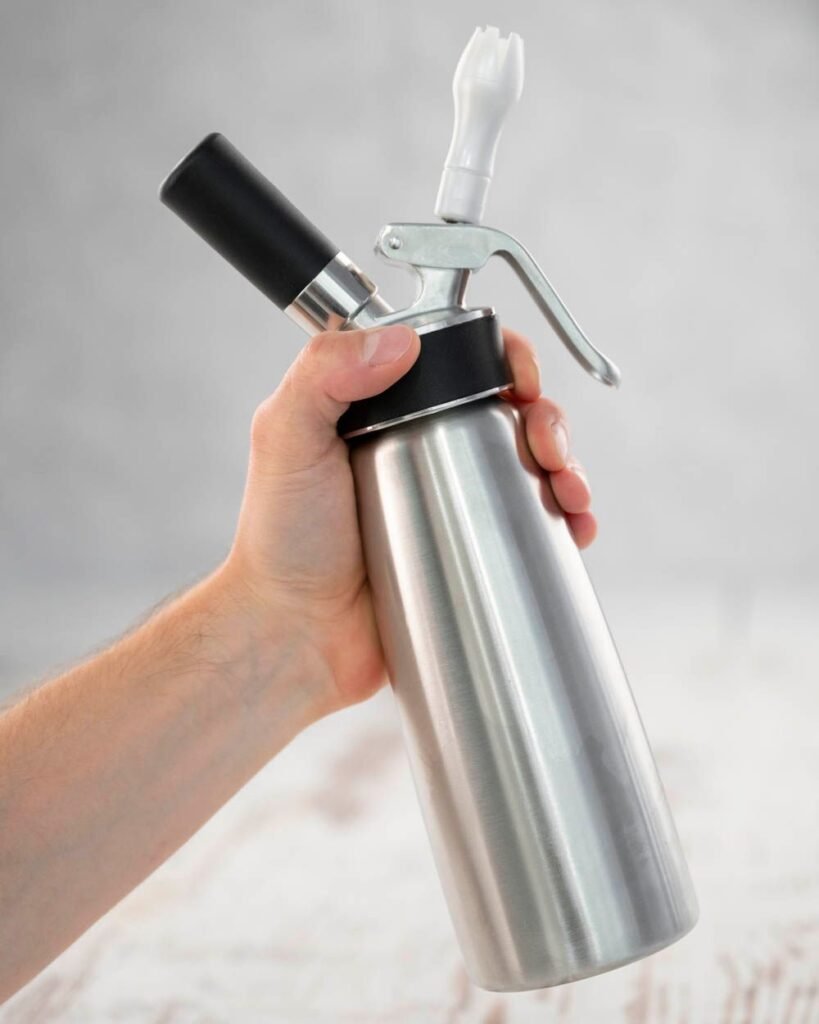
Step 3: Shake and Test
Shake the dispenser side to side 3-4 good times.
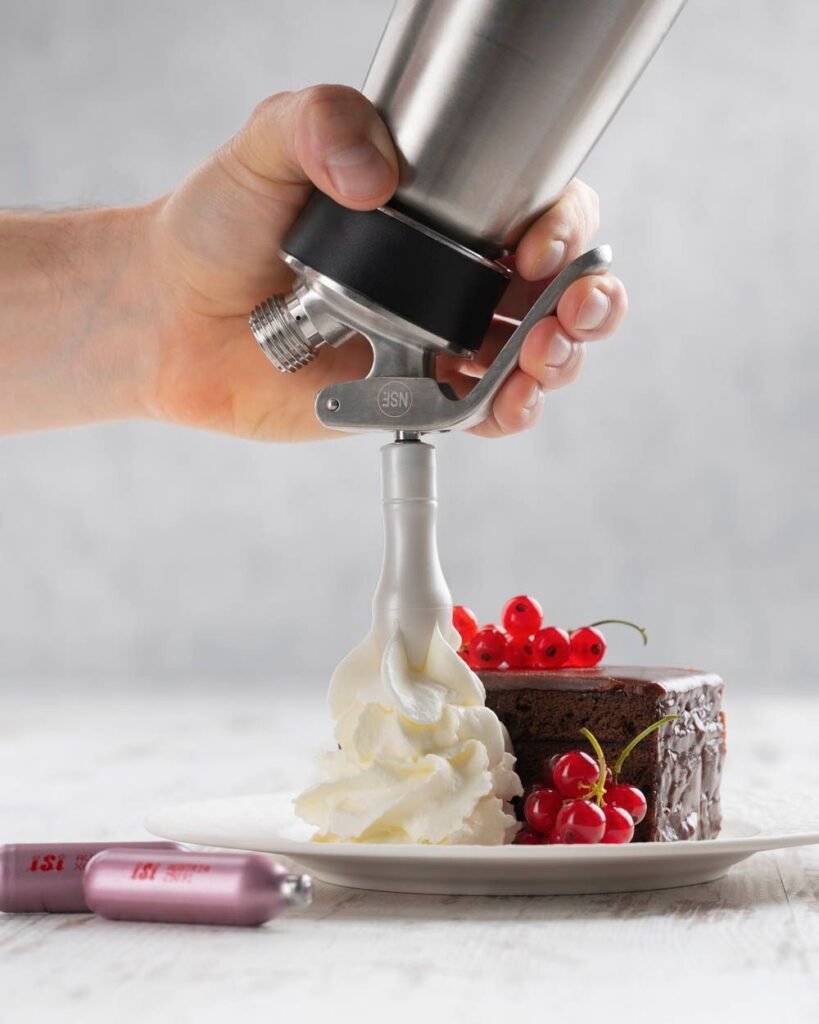
Turn the dispenser upside down and gently squeeze the lever arm, you should see some cream come out. If the cream comes out watery, shake more and wait 30 seconds. You want it to be whipped cream, that is fluffy but holds it’s shape.
Perfect whipped cream should hold its shape but still feel light.
iSi Official Step-by-Step Guide
Also referring to ISI’s official support guidance
Common Mistakes I See People Make
Using warm cream: This never works. Cold cream is essential and non-negotiable.
Overfilling the dispenser: Use the fill line, if you fill too high, you will have a problem.
Cheap cartridges: Cheap cartridges just do not deliver consistant pressure and could damage the dispenser.
Not shaking enough: The cream needs proper mixing with the gas.
Advanced Techniques
Once you have a grasp on making basic whipped cream try these different variations:
Flavoured Whipped Cream
Chocolate: Add 2 tbsp cocoa powder before charging Coffee: Add 1 tsp of instant coffee Strawberry: Add 2 tbsp of strawberry pure to the pureed mixture
Lighter Textures
Do you want your whipped cream to be ultra-light like mousse? try adding 2-3 tbsp milk which will thin the base slightly but take care to not go too far. Although you would normally only charge once, charging with 2 cartridges would work desired in this case.
This is the secret to creating extremely airy textures which can serve as many dishes, especially dessert topping.
Troubleshooting ISI Whipped Cream Maker
Cream not Coming Out
Check these first:
- Is the dispenser filled with gas? You should hear gas when you press the lever
- Are you holding it upside down? This step is very important!
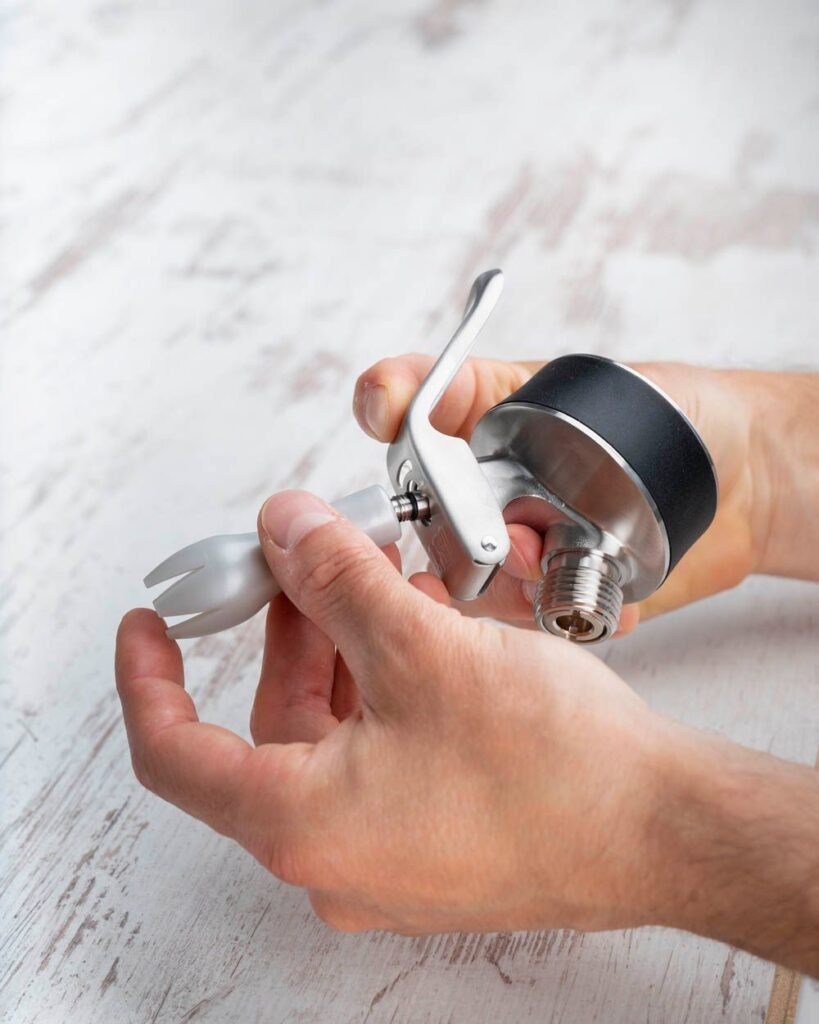
- Is the nozzle blocked? Take the nozzle off and rinse it with warm water.
Watery Results
This usually means:
- The cream was not cold enough.
- There was not enough fat – use heavy cream not light cream.
- You should shake the dispenser more.
- Use a quality charger or Cylinder to charge the dispenser.
Cream Separates Quickly
Add a stabiliser like gelatin (which you dissolve in warm water first). Or you can try using a cream with higher fat content. You will need to try different brands to see which you prefer – sometimes brands work and some don’t. So if you like a particular one try using it instead.
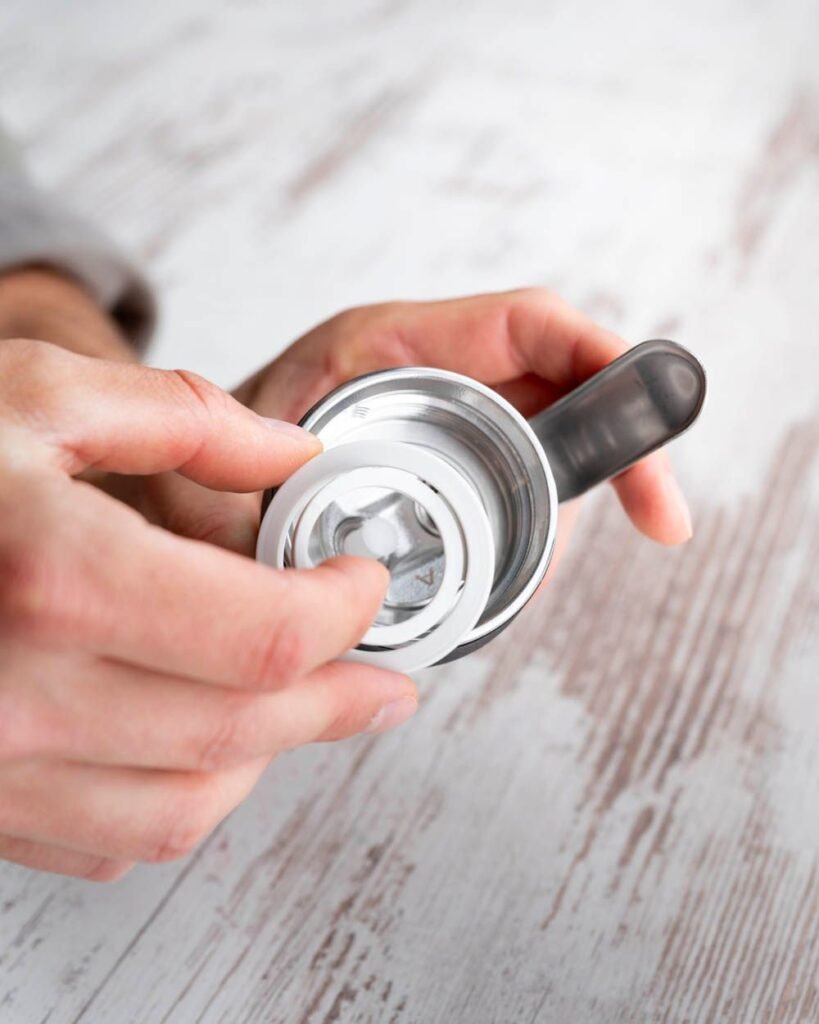
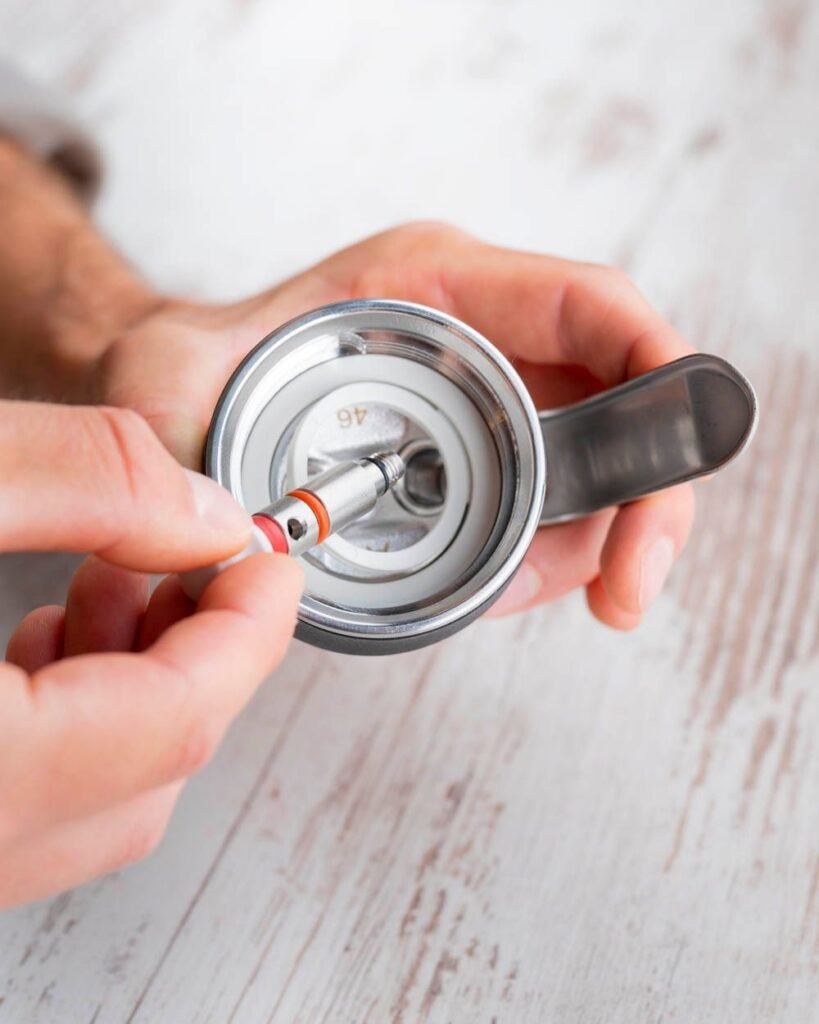
Cleaning and Maintaining Your Dispenser ISI
Cleaning properly will keep your dispenser working Halloween perfect.
After each use you should:
- Remove any cream that is still in the container.
- Unscrew the head completely
- Rinse all components with warm soapy water.
- Make sure you clean the nozzle carefully and use a small brush to do so if necessary.
Deep clean monthly: Place the metal parts in warm water mixed with baking soda to remove all of the residual cream that builds up over time.
You should never put the dispenser head in a dishwasher – this must be hand washed.
According to ISI’s official support guidance, proper maintenance extends your dispenser’s life significantly.
Creative Recipes Beyond Basic Whipped Cream
Espresso Foam
- 200ml cold milk
- 2 shots espresso (cooled)
- 1 tbsp sugar
Charge and serve over freshly brewed coffee for café quality drinks at home!
Savory Foams
Try an herb-infused cream for a unique plating option:
- Basil and olive oil foam
- Lemon and thyme
- Parmesan and black pepper
These will take simple food dishes to a premium dining experience.
For more recipe ideas, check out Lakeside Table’s comprehensive guide with dozens of innovative applications.
Safety Tips for Using Your ISI System
Never use anything except N2O cartridges. Using any other gasses can be dangerous and damaging to your device.
Check your seals regularly. Replace the rubber seals when worn to avoid leaks.
Do NOT over pressure. One cartridge per batch is typically sufficient.
Store your device properly. When not in use, keep your device in a cool dry storage area.
Frequently Asked Questions
How long does whipped cream last in an dispenser?
Freshly whipped cream can last about 7-10 days in the fridge if stored correctly. The dispenser actually keeps it fresher than the regular whipped cream because it is sealed.
Can I use different types of cream/whipping cream?
Heavy cream (35%+ fat) works well. Light cream doesn’t have the structural integrity you need. Half & half makes it lighter, but doesn’t hold up as long.
Why isn’t my cream getting thick enough?
This typically comes down to temperature or fat content. Make sure your cream is cooled adequately and has plenty of fat.
How many servings does one cartridge make?
One N2O cartridge usually has enough gas to produce between 250-500ml of cream, depending on thickness or pressure applied. You will typically get 15-20 generous servings from a standard batch. Want to know how many chargers you need to buy? Try Cream Charger Calculator
Can I make a whipped cream that is dairy-free?
Coconut cream works well, but be sure to chill the can of coconut cream overnight in your fridge first. Use only the thick cream that separates on the top. The kit varies by brand- some may not work as good as others.
Final Thoughts
Understanding how to use whipped cream dispensers comes down to understanding the basics and having the proper technique and practise.
To begin with, start off with the highest quality ingredients. Follow the steps exactly as described. Don’t rush the process – you’ll be happy you didn’t.
Once you get it right, you’ll ask yourself how you ever lived without fresh whipped cream at your finger-tips whenever you want it!
Your ISI dispenser opens up a whole new world, not just with whipped cream – you can produce cafè-style coffee drinks and restaurant-quality plated desserts.